The Cheapest and Quickest Way To Straighten Your Smile
So, you’re looking for the cheapest and quickest way to straighten your smile safely? Look no further! I have found the best way to straighten your smile while on a budget. Keep reading to follow along on my smile journey!
Compensation for this post was provided and this page may contain affiliate links. Thank you for supporting my blog!
The Cheapest and Quickest Way to Straighten Your Smile
Have you heard of Byte?
I am so excited to share my teeth-straightening journey with Byte aligners! I have looked at so many different options to straighten my teeth because let’s be honest, IT’S EXPENSIVE. There aren’t a lot of options to choose from when deciding to straighten your smile. You have either braces or aligners and each one is pretty pricey. I ended up choosing Byte because they are actually more affordable than all of the other aligner companies and every review I read was great! I heard they had wonderful customer service and that is a MUST for me!
After reviewing their process and prices, I decided to go for it! Byte has been an amazing experience so far and I can’t wait to see my end results. I think this entire process will be totally worth it!
I will be blogging each step as I complete it, so make sure you save this post or bookmark it to come back periodically to check if you would like to see my entire smile journey and what my treatment looks like and what my results are at the end.
Interested in Starting Your Own Smile Journey?
If you are interested in starting your own smile journey, you can use my code to get your impression kit for only $19! Plus, get $200 off your aligners if you decide to purchase your treatment plan! Click here to get this offer!
1st Step: Impression Kit
The first step with Byte is ordering your impression kit. Once you order your impression kit, it ships straight to your door! You get everything you need to do your own impressions right at home. It was super simple for me. The kit comes with impression trays, impression putty, a smile stretcher, and gloves. It also includes step-by-step instructions. There is also a guided video available if you would rather see it than read the instructions. The whole process was very easy to do, even though I was a little nervous!
After completing your impressions, you put them back in the box and drop them off at the nearest post office. It’s a prepaid box so shipping is completely free. The only amount you have paid so far is $19! Once Byte receives your impression kit, an orthodontist will take a few days to go over your impressions and ensure you a good fit for aligners. Once approved, they will send you a detailed treatment plan showing your impression scans and exactly what your aligners will move and when. It’s actually very cool to see your plan and how fast your teeth will move into perfect position!
2nd Step: Getting Your Treatment Plan
Once you have sent in your impressions, an orthodontist will create a treatment plan for you to look over before deciding on purchasing your aligners. This treatment plan is shown on the computer and will actually move week by week to show you your transformation. It’s really cool! If you like your treatment plan results, then you can go ahead and purchase your aligners.
It does take about a week or so after they receive your impression kit for the treatment plan to be available, just to let you know.
My Treatment Plan:
I wanted aligners because I have a lot of crowding on my bottom teeth, mostly from dealing with wisdom teeth when I was younger and my teeth shifting even more from pregnancy a few years ago. It can be painful when your teeth shift a lot plus, it made it harder to floss and keep them clean. My dentist recommended looking at aligners just to keep my smile healthy overall so that was my main motivation. For me, the straight smile is just a great bonus!
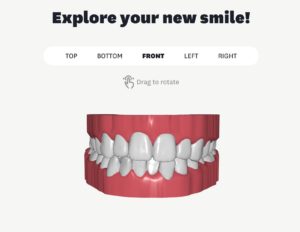
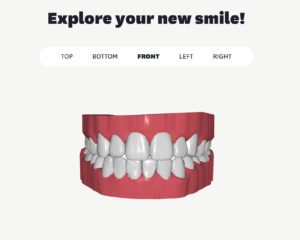
This is what your treatment plan will look like, but it also has options to where you can look at your treatment plan at any week during your treatment. You can also move the model around a complete 180 and see your teeth from all angles. It really is cool and it’s great to see your treatment plan at every single step!
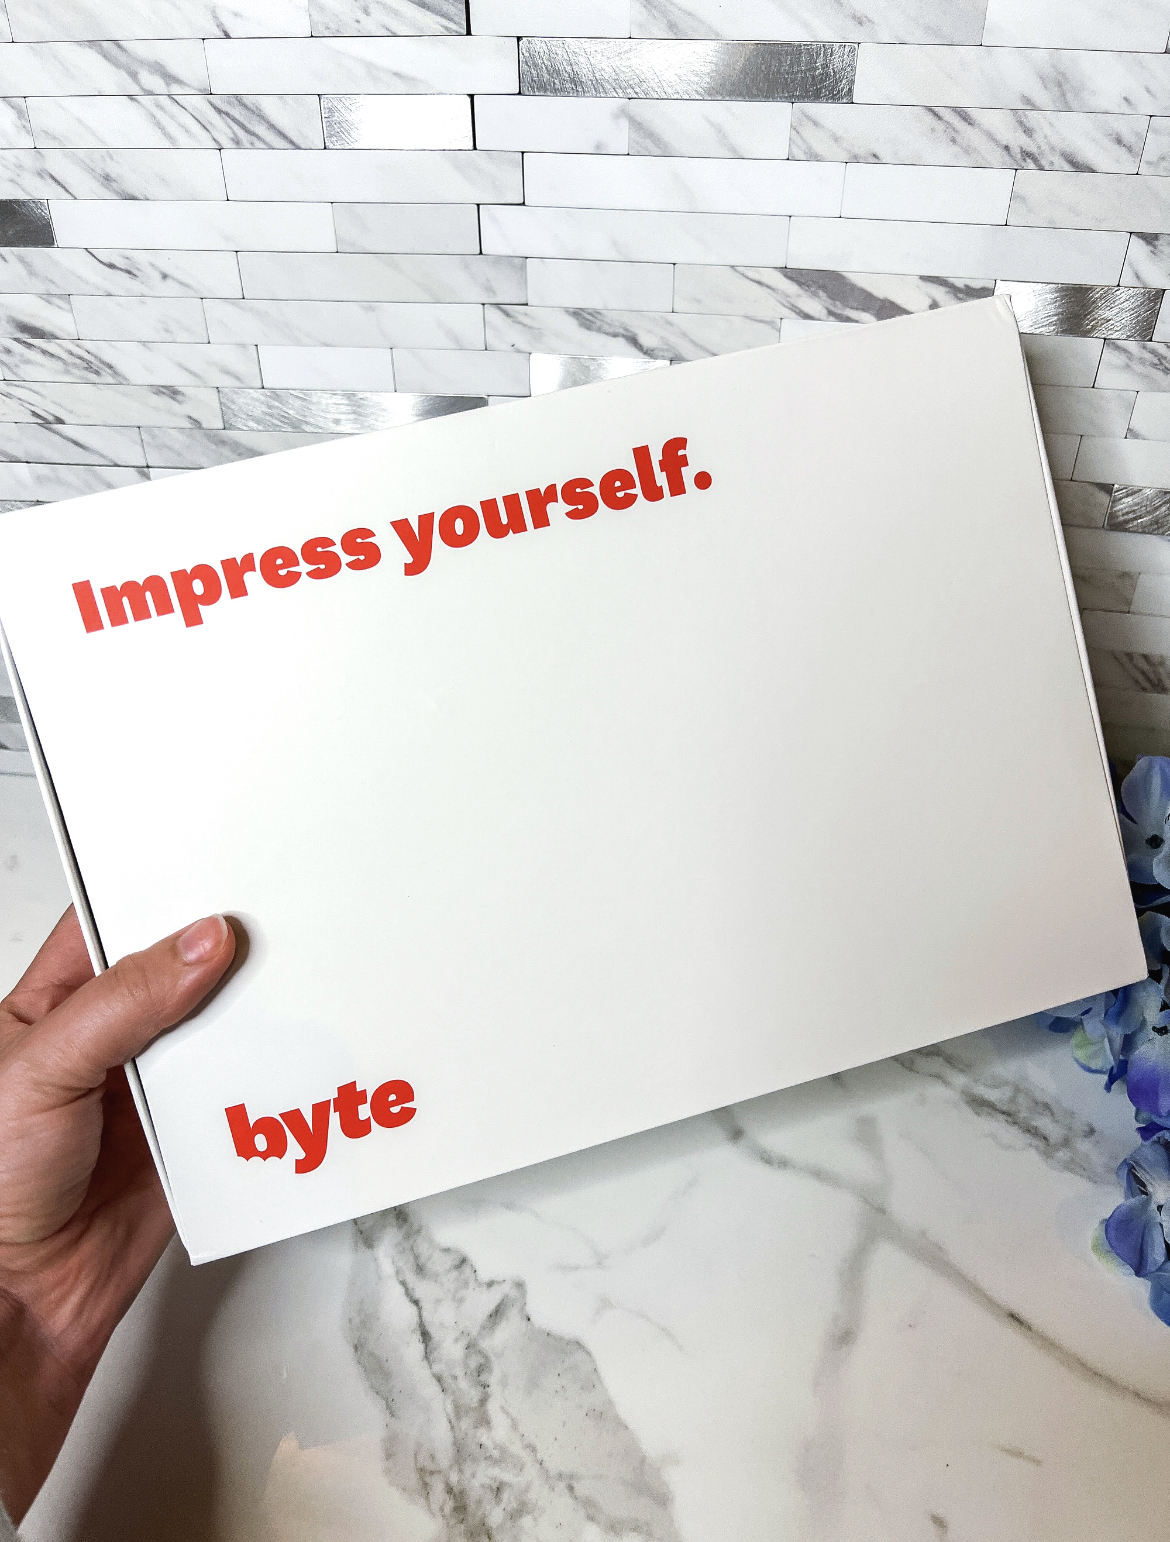
3rd Step: Shipping and Receiving Your Aligners
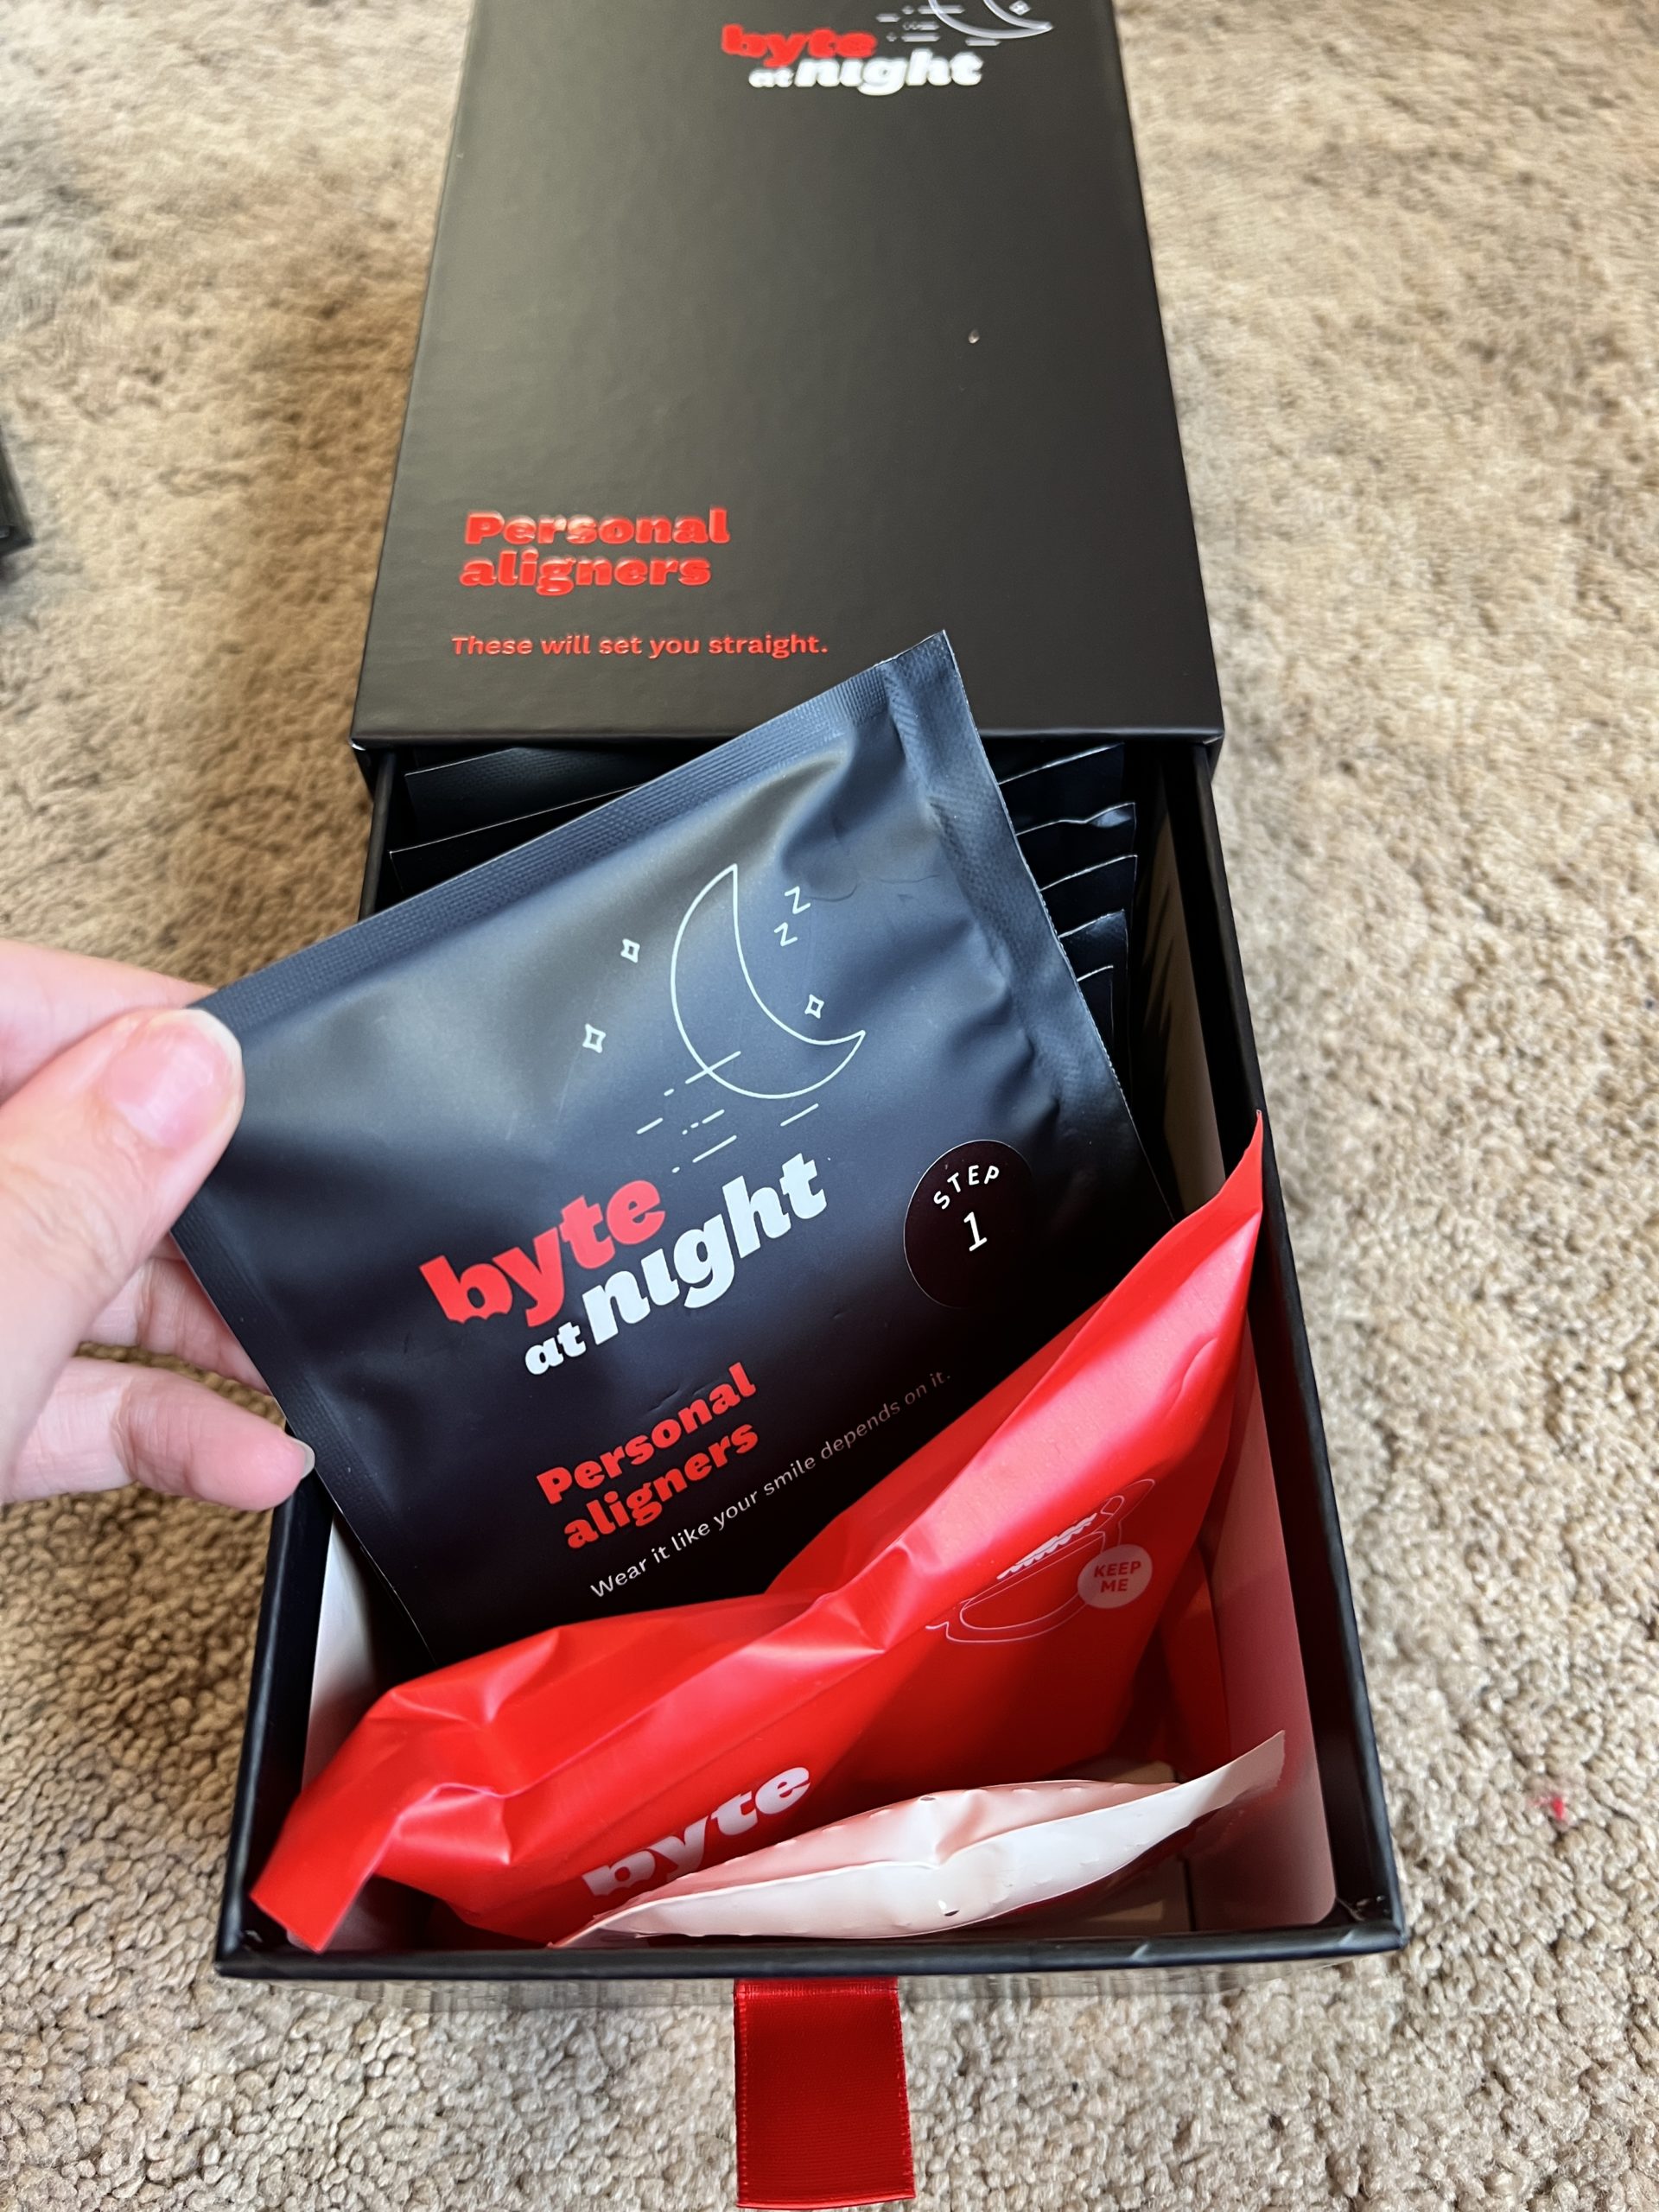
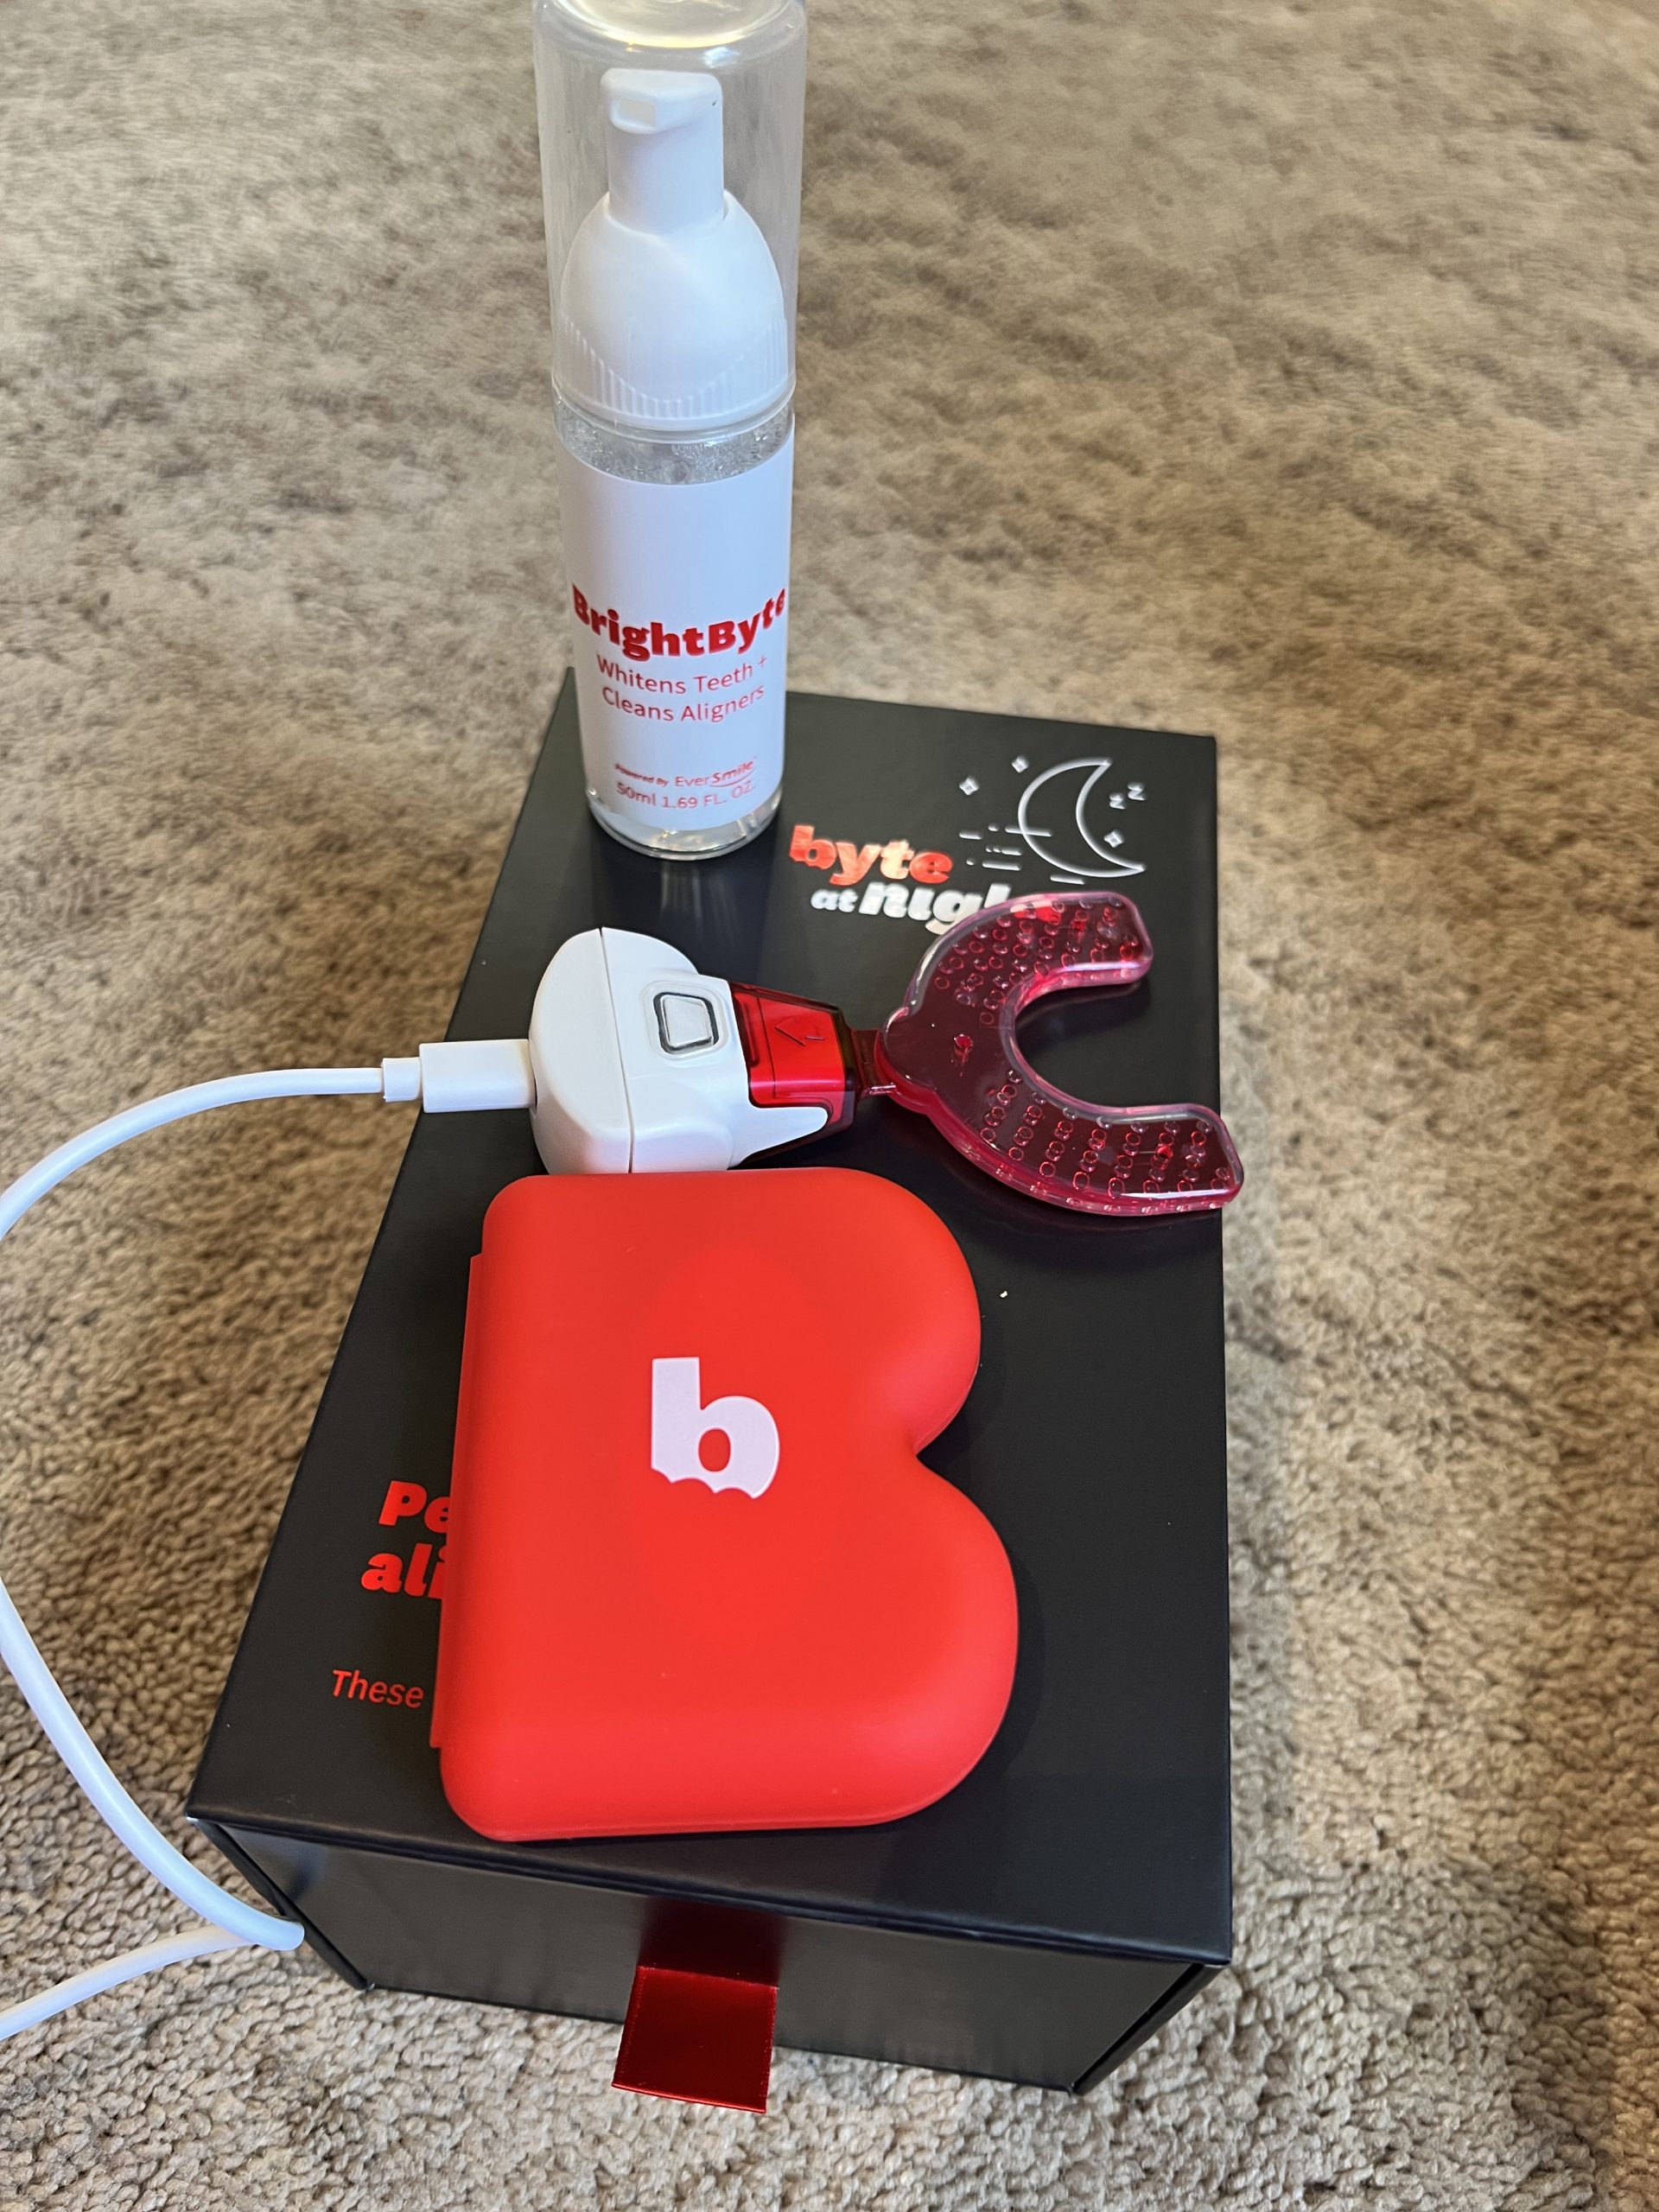
After you order your aligners, it will take 4-6 weeks to receive them in the mail. I think mine only took about 3 weeks, but they say 4-6 weeks on the website. I did order the Byte at Night aligners that only need to be worn 10 hours a night, which is amazing! This is the box that you get and it comes with 15 weeks of aligners as well as all of your accessories.
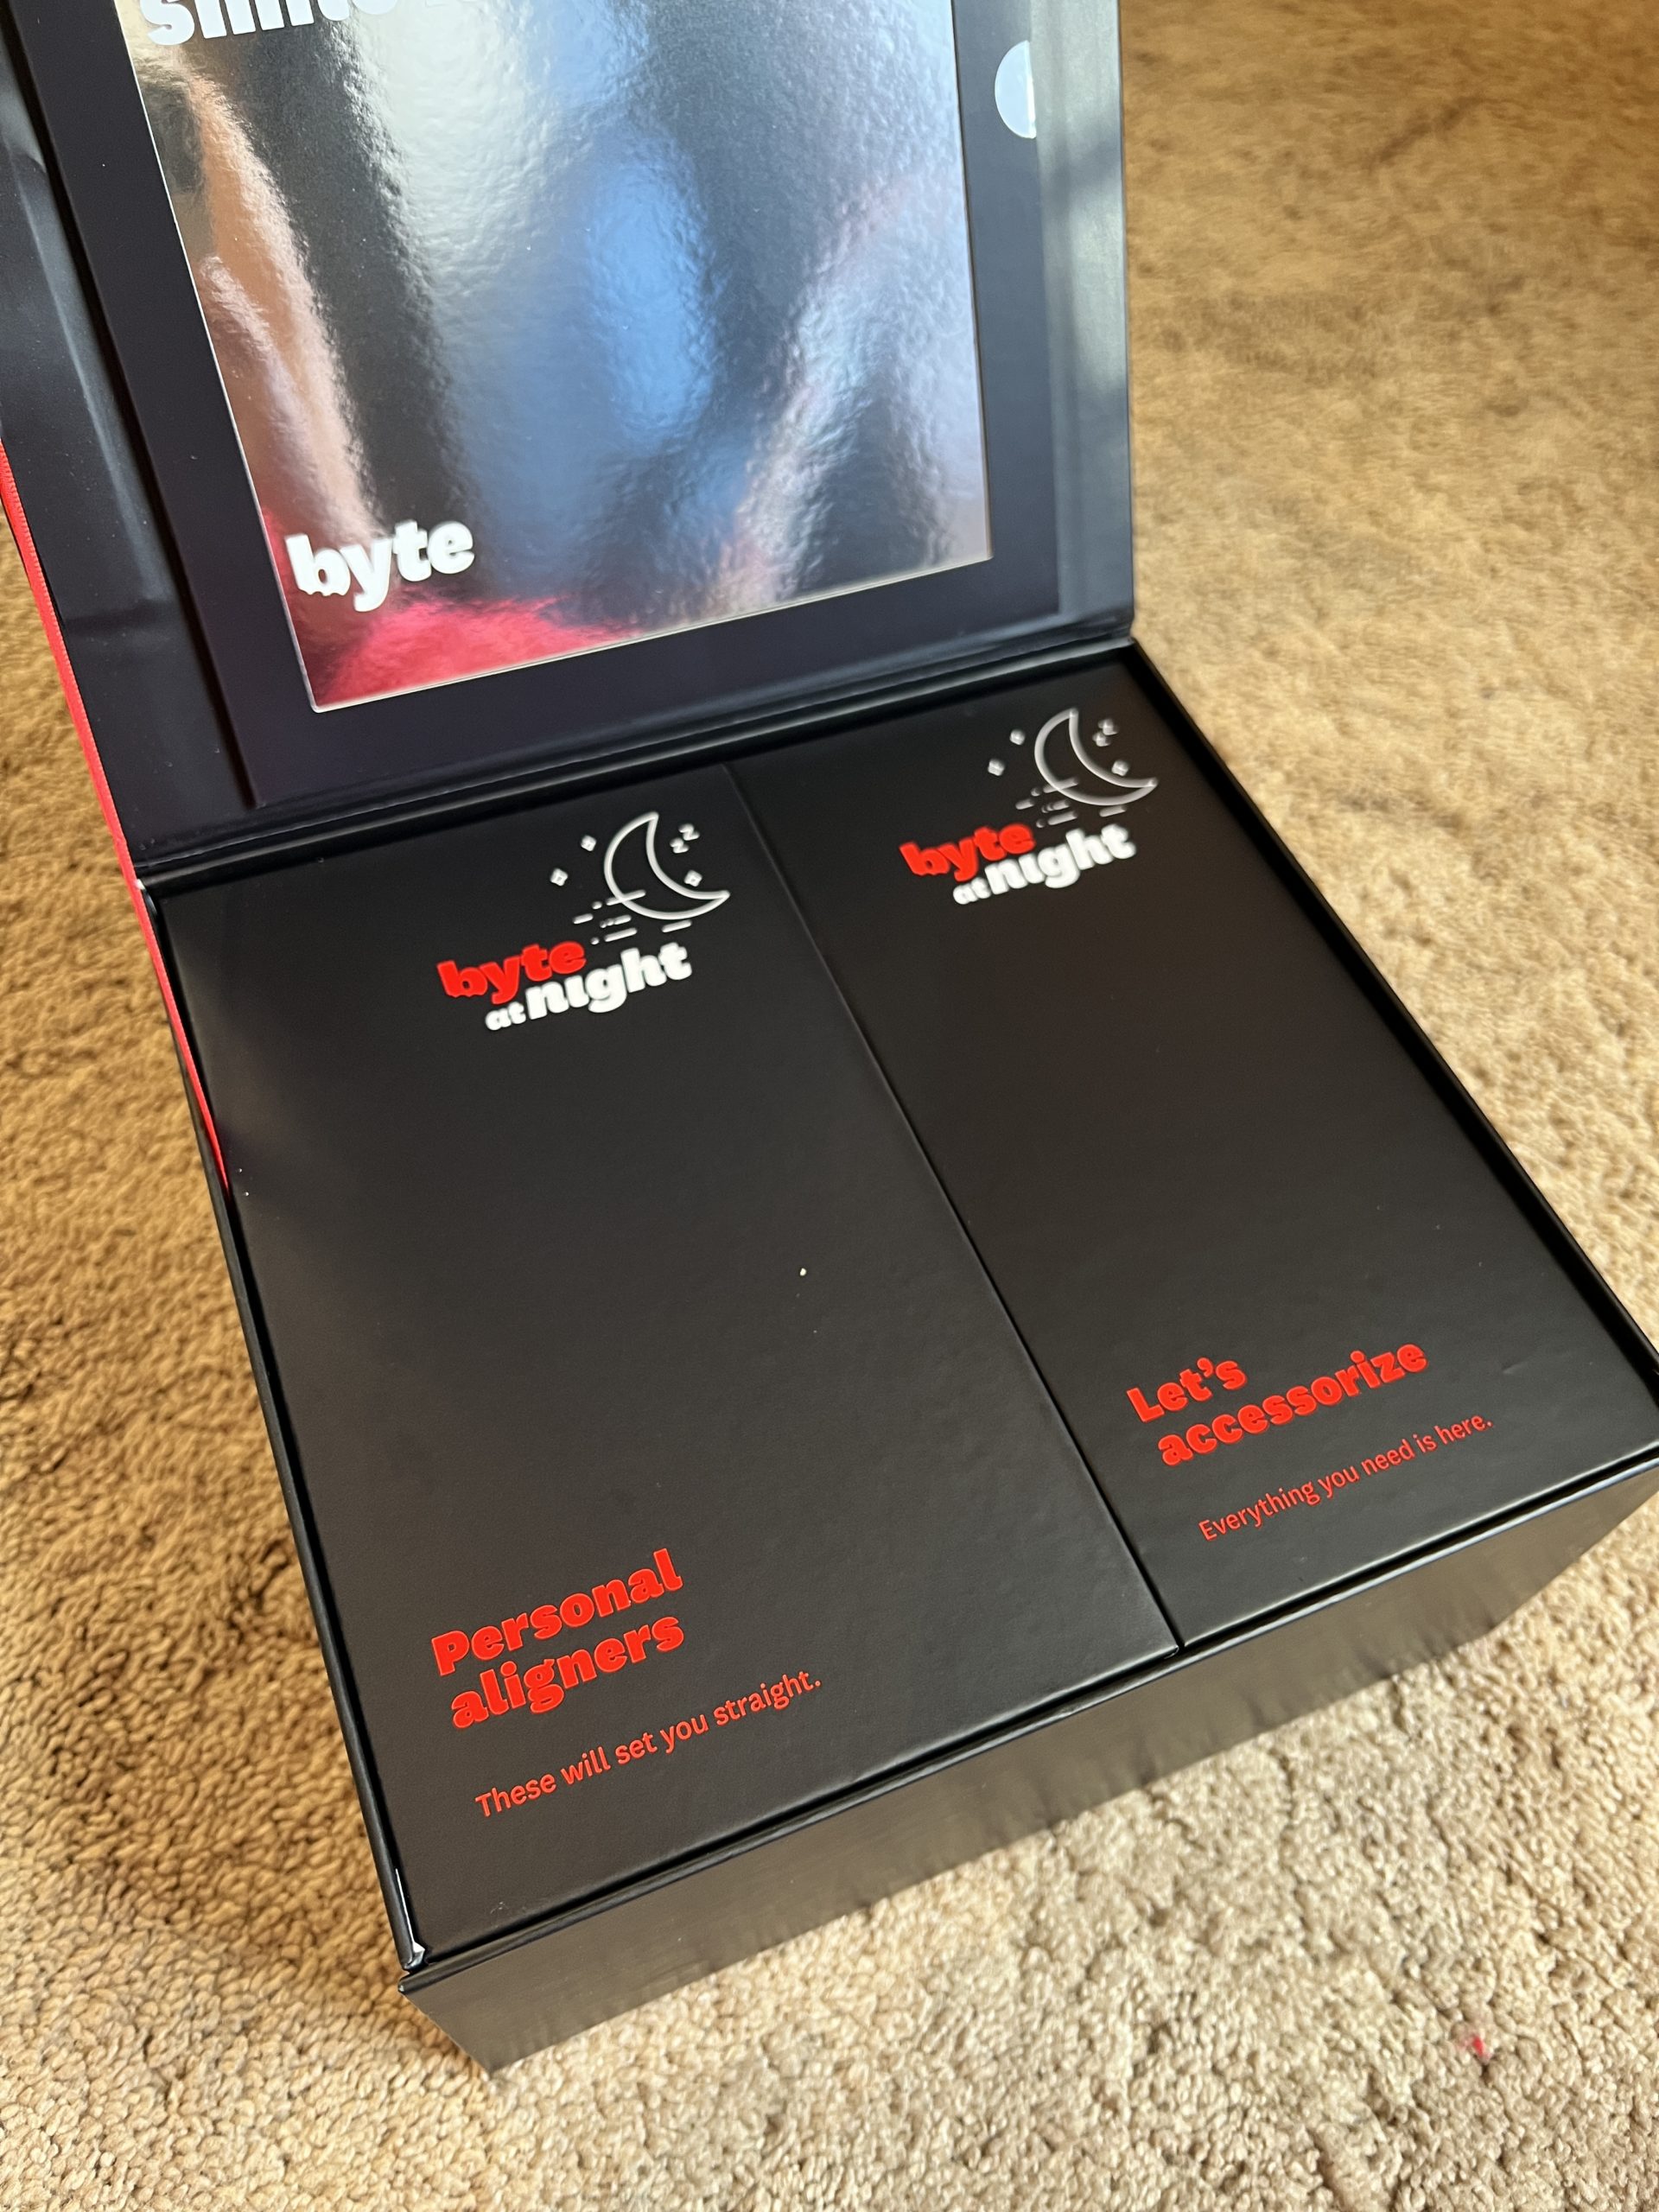
You can see each aligner packet is labeled for the week to wear it, which makes it super easy to grab and go! It also comes with chewies, an aligner removal tool, and an aligner case. They really have thought of everything, and I love it! Once you get your aligners in the mail, you are ready to start your treatment!
HyperByte:
Byte will also send you a tool called the Hyper Byte and I was a little skeptical but it actually does work! It’s a mouthpiece that vibrates very gently and helps move your teeth into the aligners and also helps with the pain of your teeth shifting. I have used it religiously since starting my treatment and it definitely has helped with the pain as well as with moving my teeth faster into the aligner trays. They recommend at least 5 minutes a day, but usually I do 10-15 minutes to ensure my mouth is comfortable with the aligners in.
4th Step: Aligner Process (22-week treatment)
Weeks 1-6 of Treatment
I am officially through weeks 1-6 of my treatment and things have been progressing wonderfully! I see a major change in my teeth and it’s shocking how much change can happen in a month or two! I did experience a small setback on week 5. I experienced some slight redness and irritation in my gums (which totally freaked me out!) so I emailed customer support and showed them pictures.
They ensured me this was totally normal during any orthodontic treatment since your teeth are moving pretty fast. So, I stayed in my week 5 aligners for 14 additional days to allow my teeth to settle and get more comfortable and less irritated. It was actually nice to stay in those aligners (if you have done any type of aligner treatment, you know what I mean!) because it was less pressure as the days went by and the trays were super comfortable on my teeth by the end of the 14 days.
After that, I easily moved on to my week 6 aligner with no issues at all! It went super comfortably, and I no longer have any irritation to the gums. So, I will be 2 weeks behind schedule, but it was totally worth it. I love how easy it was to contact customer service and they replied to my concerns within the day to make sure I was comfortable and felt at-ease with this process.
If you are interested in starting your own smile journey, you can use my code to get your impression kit for only $19! Plus, get $200 off your aligners if you decide to purchase your treatment plan! Click here to get this offer!
Weeks 7-12
Check back soon!
5th Step: My End Results
Check back soon!
Thanks for reading,